
How-To: Replacing Benchmade Griptilian Handle Scales
9th Jul 2015

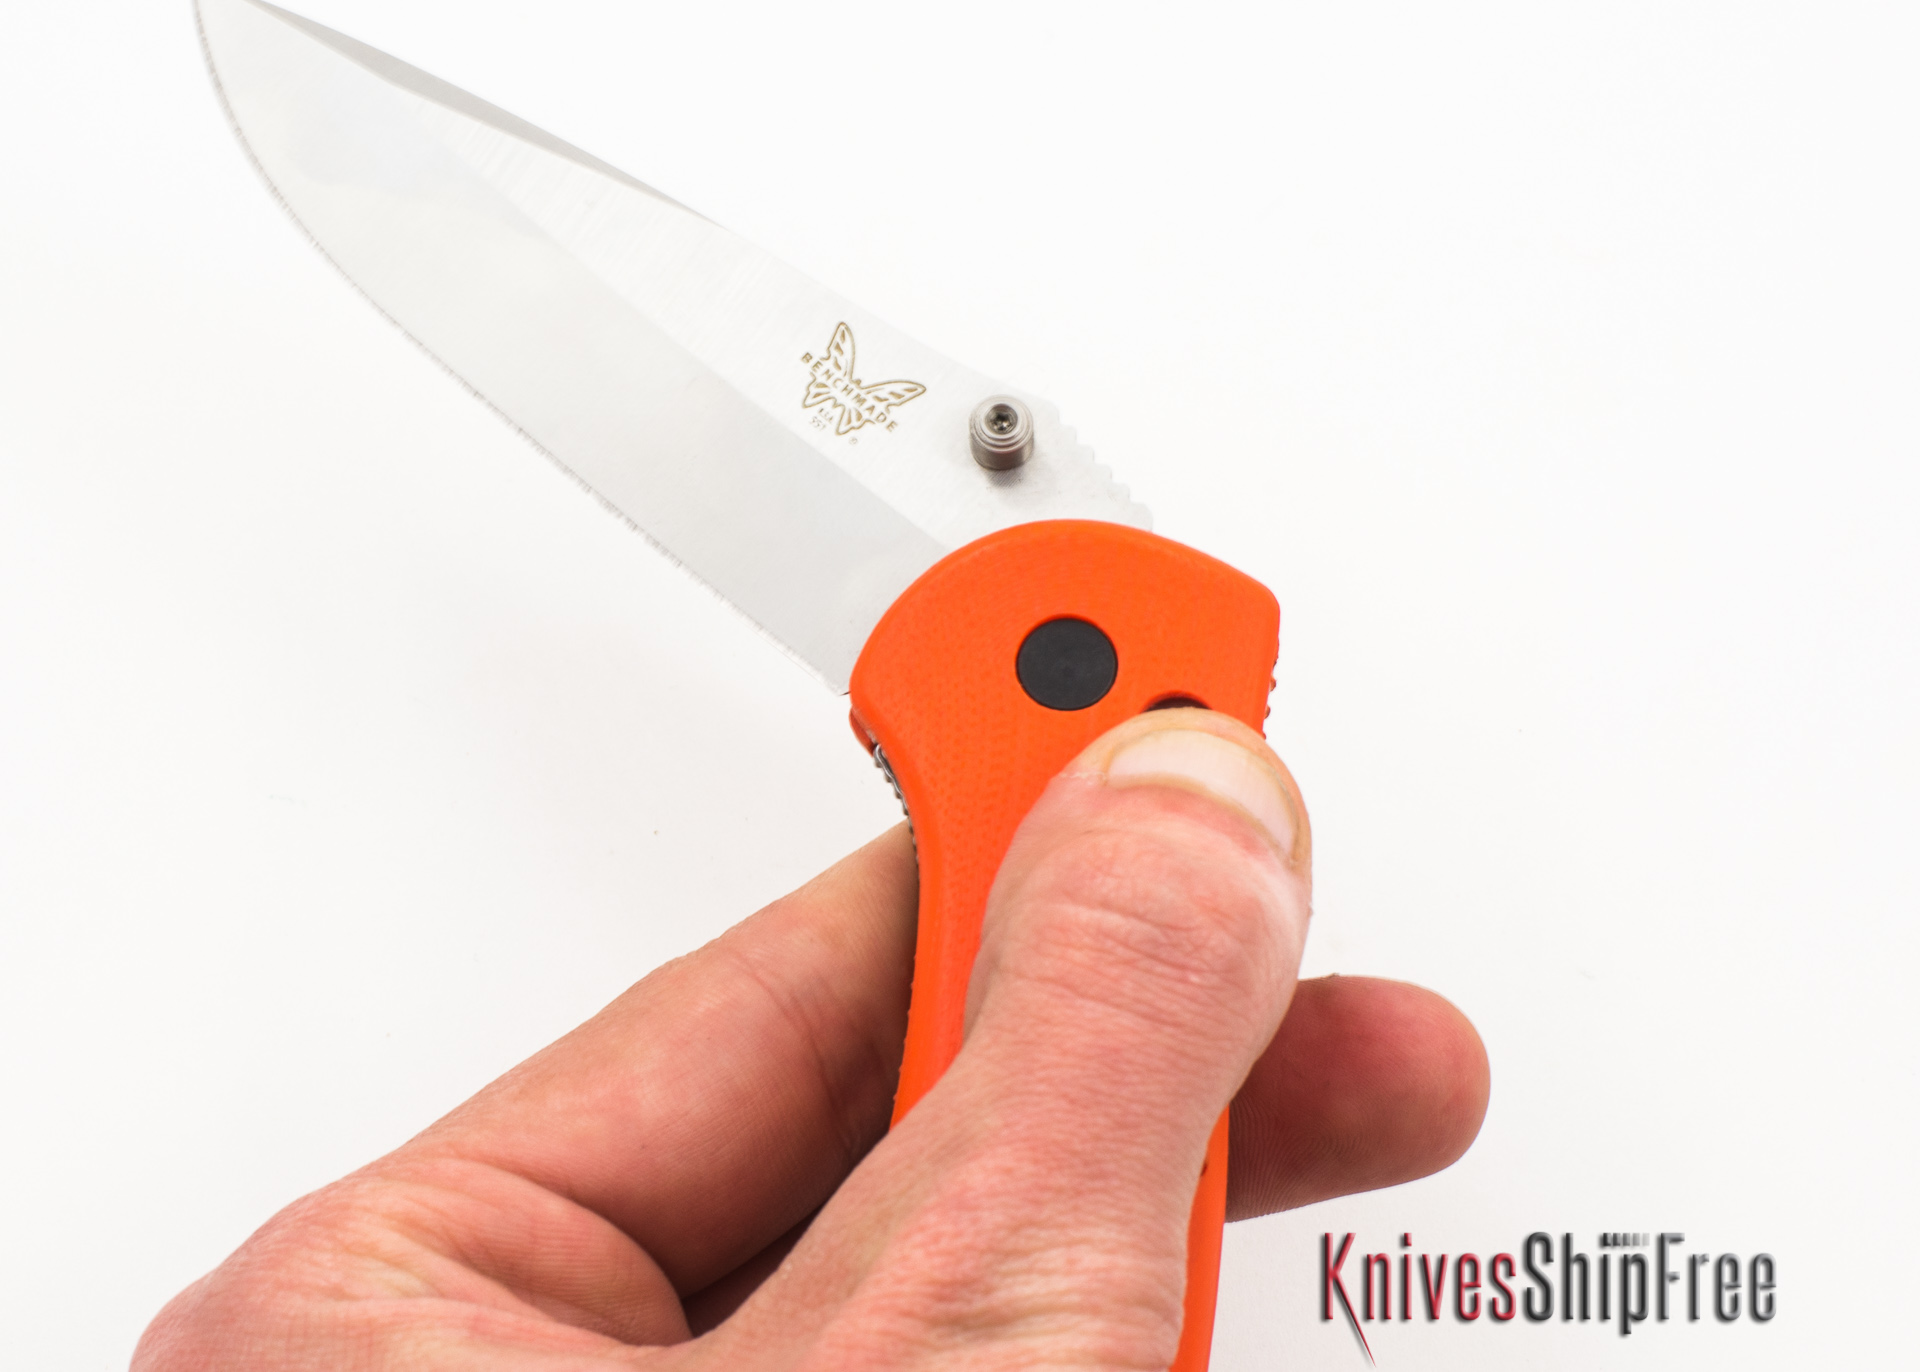
Replacing Benchmade Griptilian Handle Scales
Note: According to Benchmade's warranty policy, "[The Benchmade Lifetime Warranty] does not cover...disassembly of any knife by any person other than Benchmade's Warranty department...."
Before you begin...
Review these instructions thoroughly. Most of the steps and illustrations describe replacing handle scales on full-size Benchmade Griptilian models (550, 551, 553); several steps describe how the procedure for Benchmade Mini-Griptilian models (555, 556, 557, 55X) differs slightly.
Gather the tools and supplies you'll need:
- Your Benchmade Griptilian or Mini-Griptilian knife
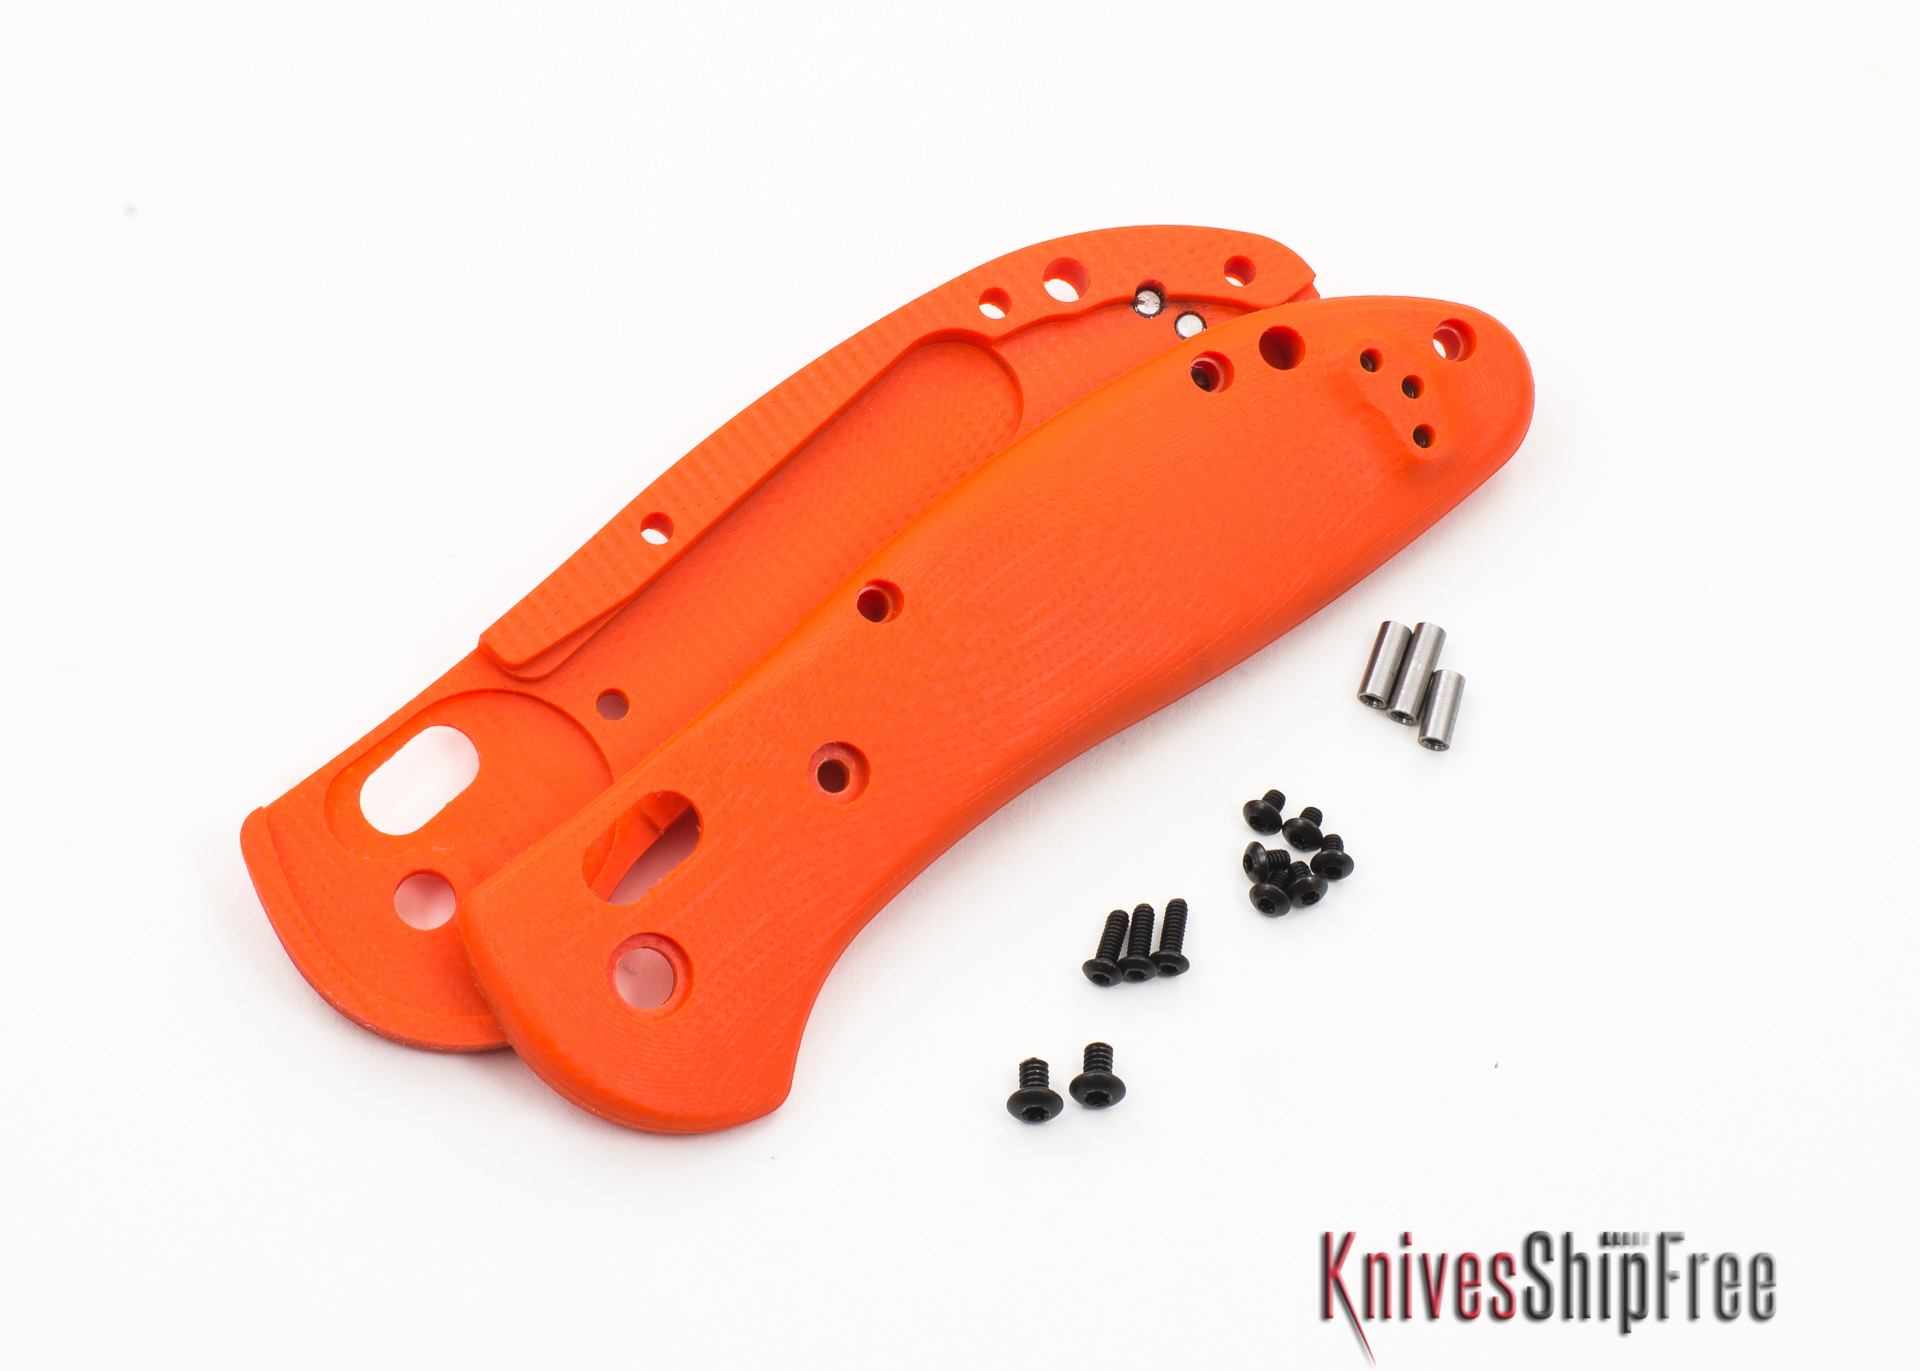
- Replacement handle scales and included hardware
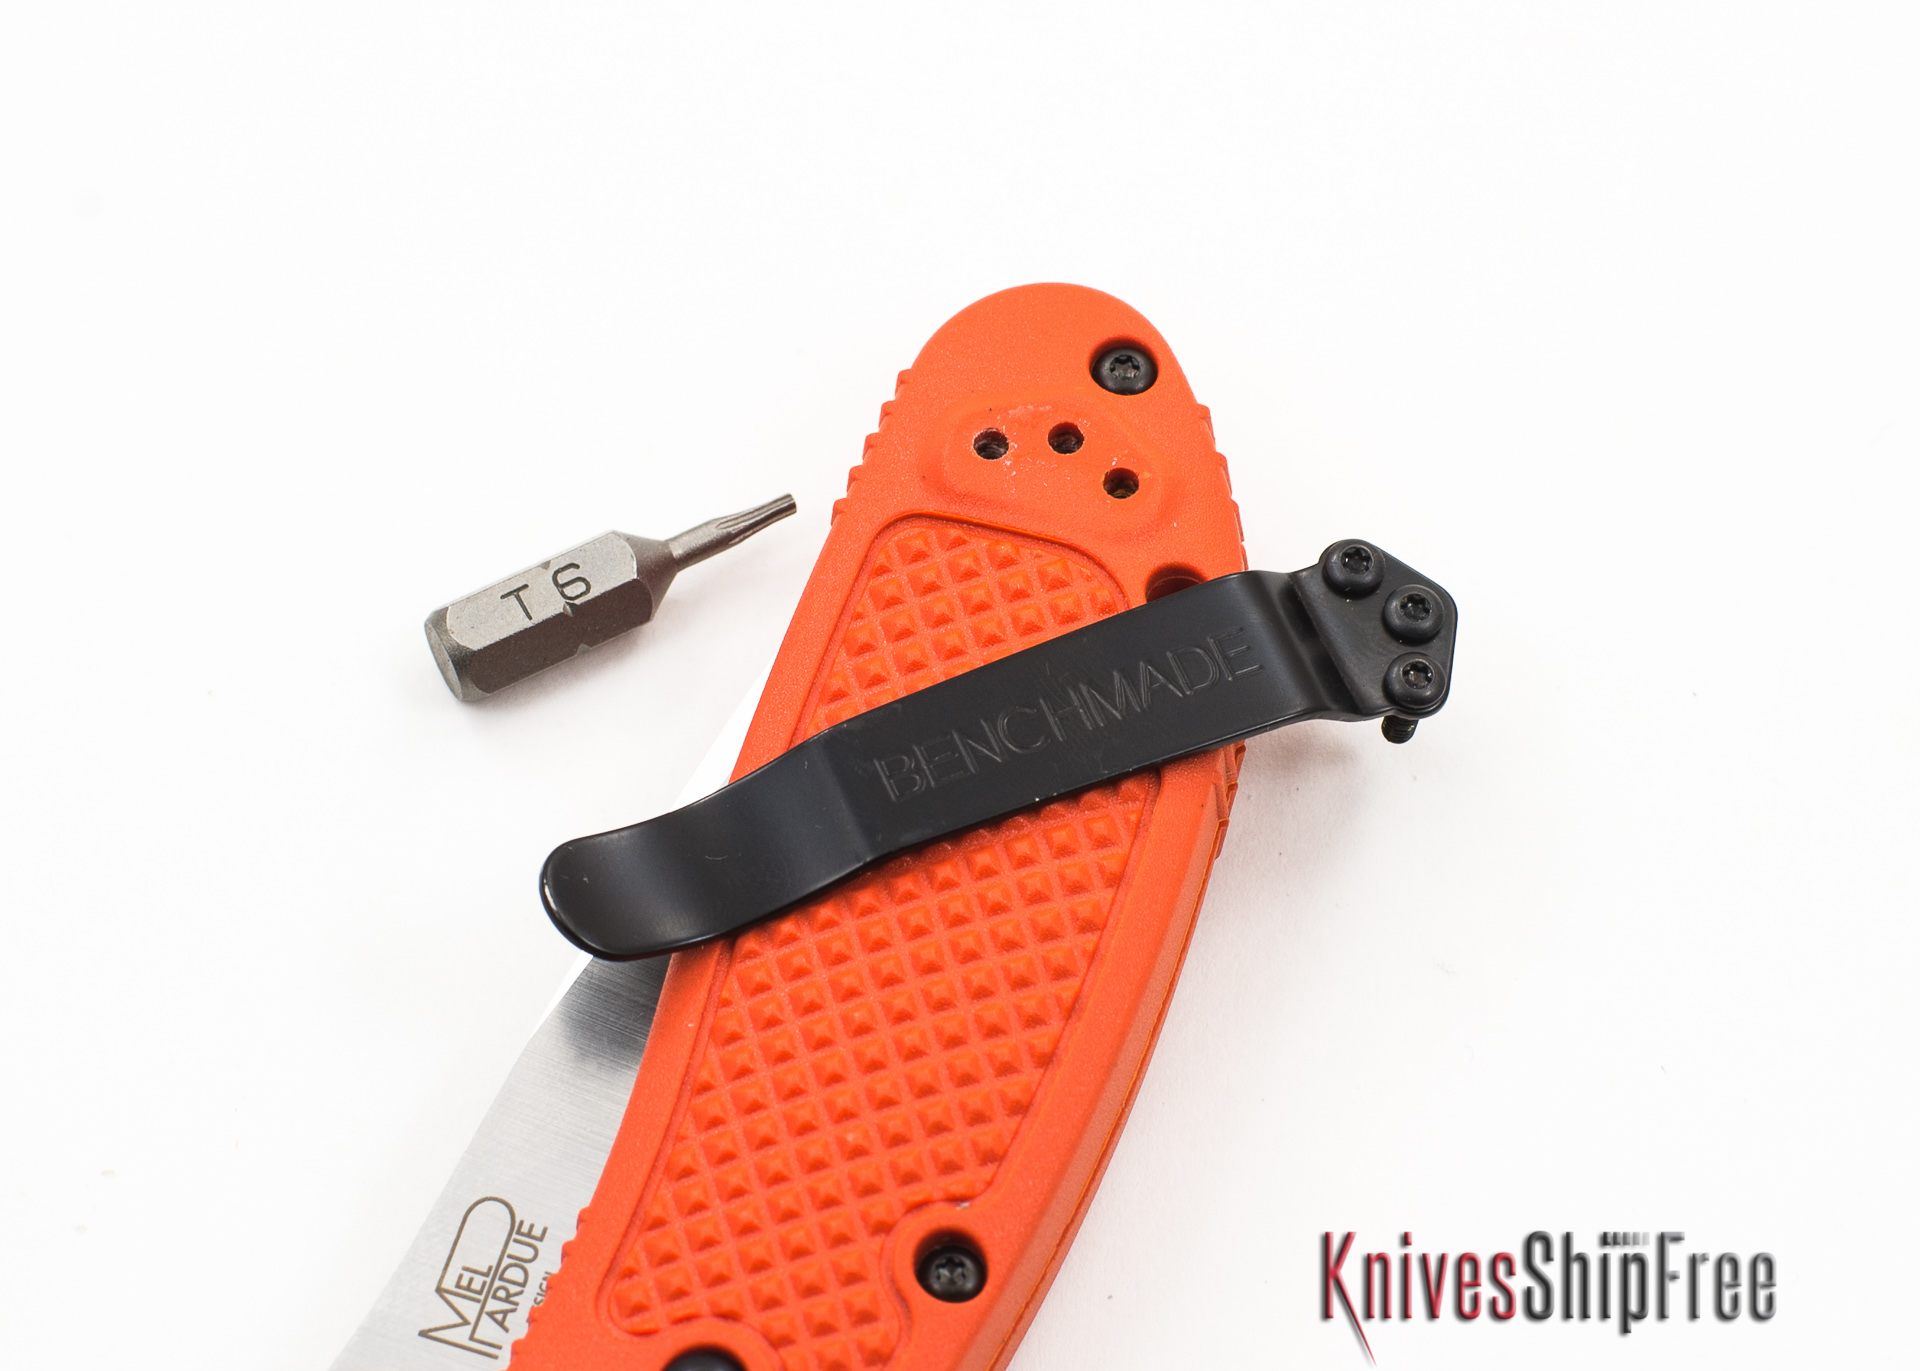
- T6 Torx driver
- T8 Torx driver (not required for Mini-Griptilian models)
- T10 Torx driver
- Small hex key or rod (see Step 8)
- Soft cloth (to cover the work surface)
Choose a flat, stable work surface. Cover it with a soft cloth to help prevent parts from "bouncing" when they drop onto the surface.
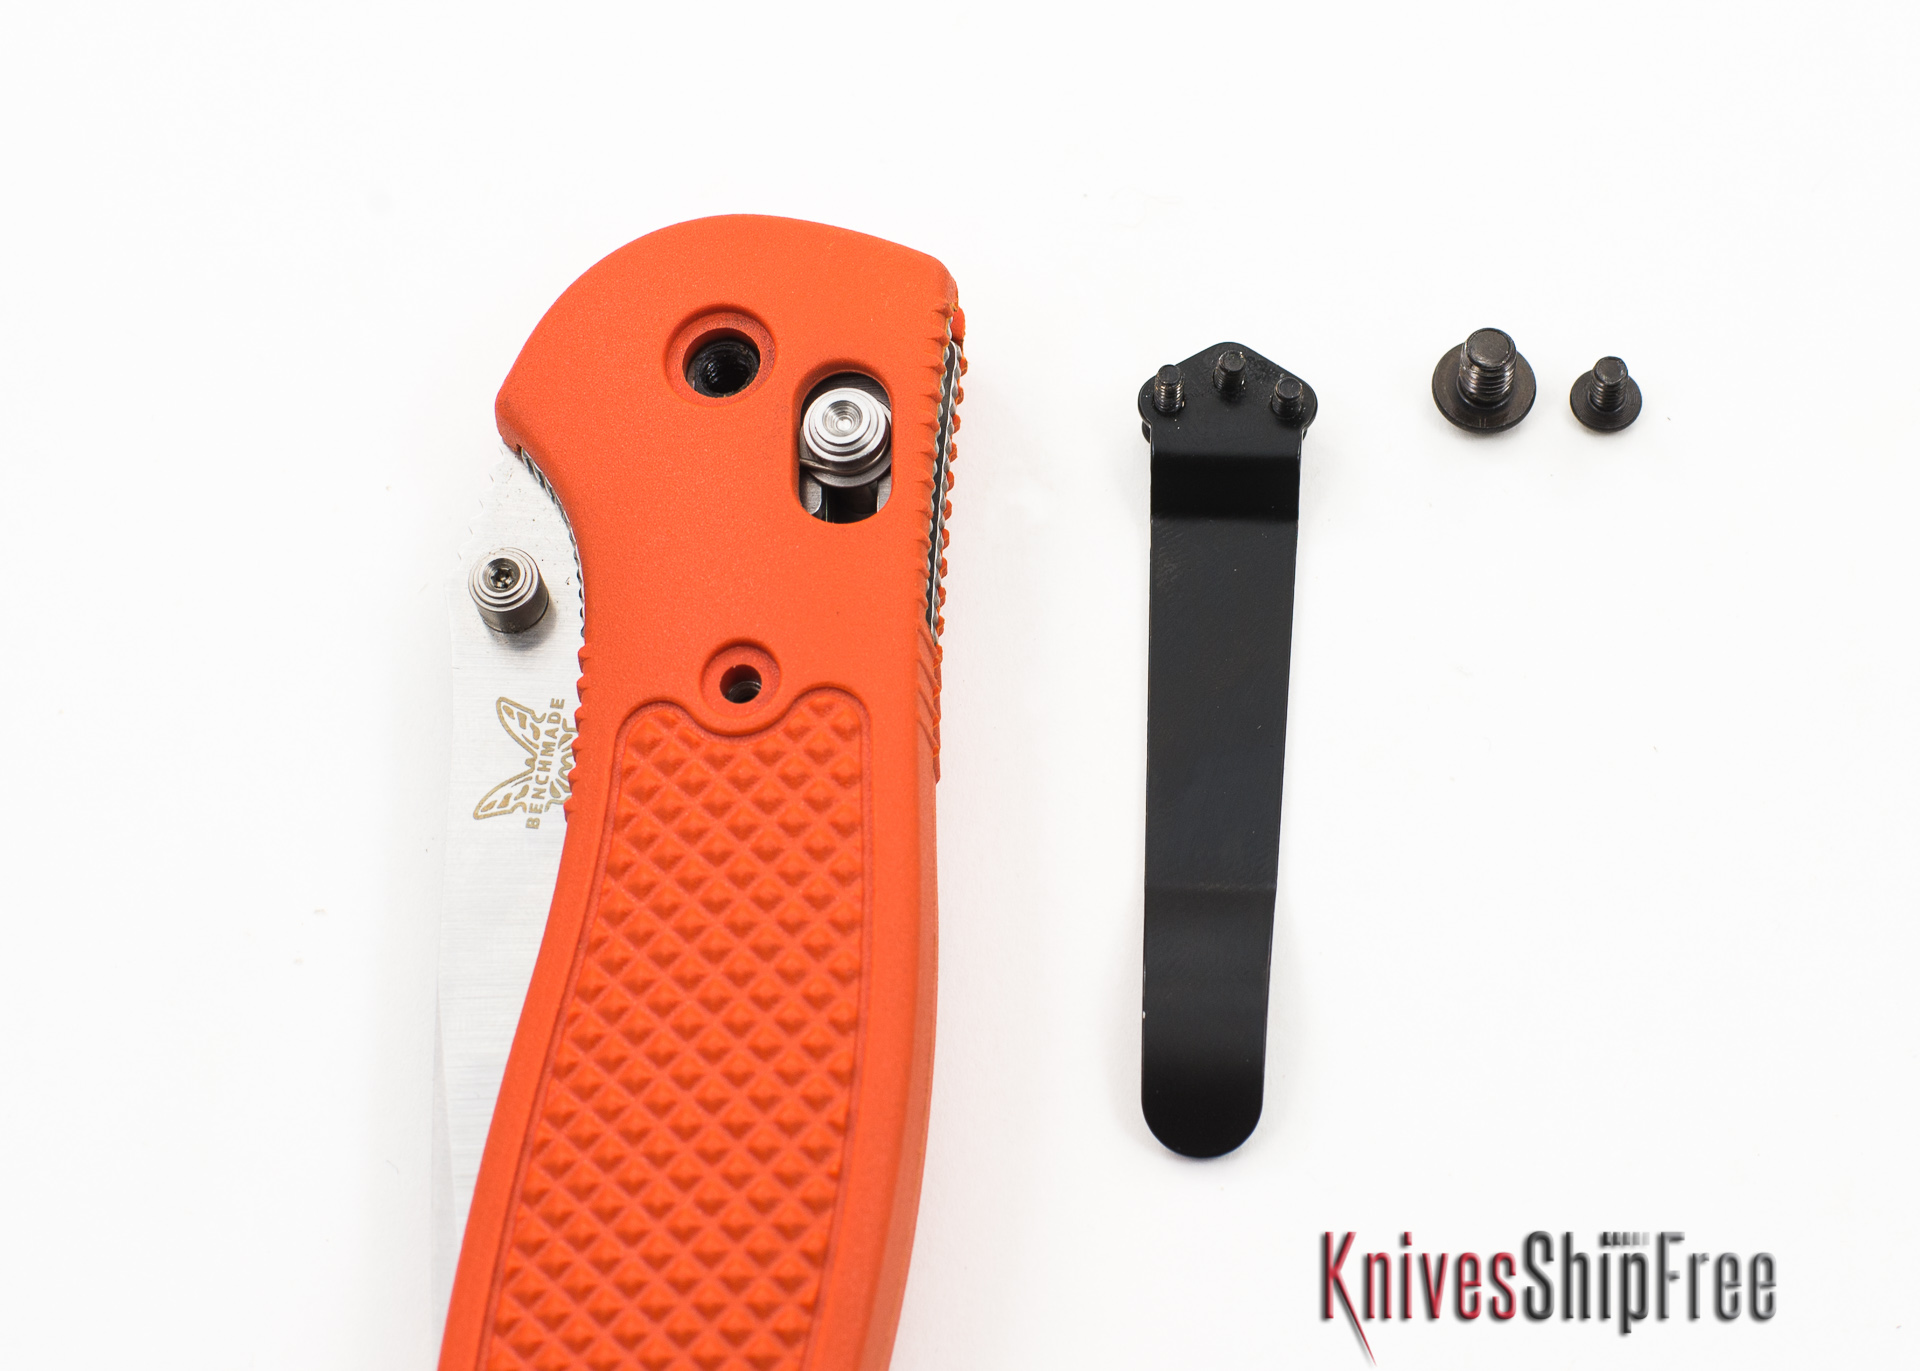
1. Begin with the knife closed. Using a T6 Torx driver, remove the three screws securing the pocket clip. Set these screws aside. (They won't be used again unless you re-install the original handle scales.) You'll re-install the pocket clip in Step 20.
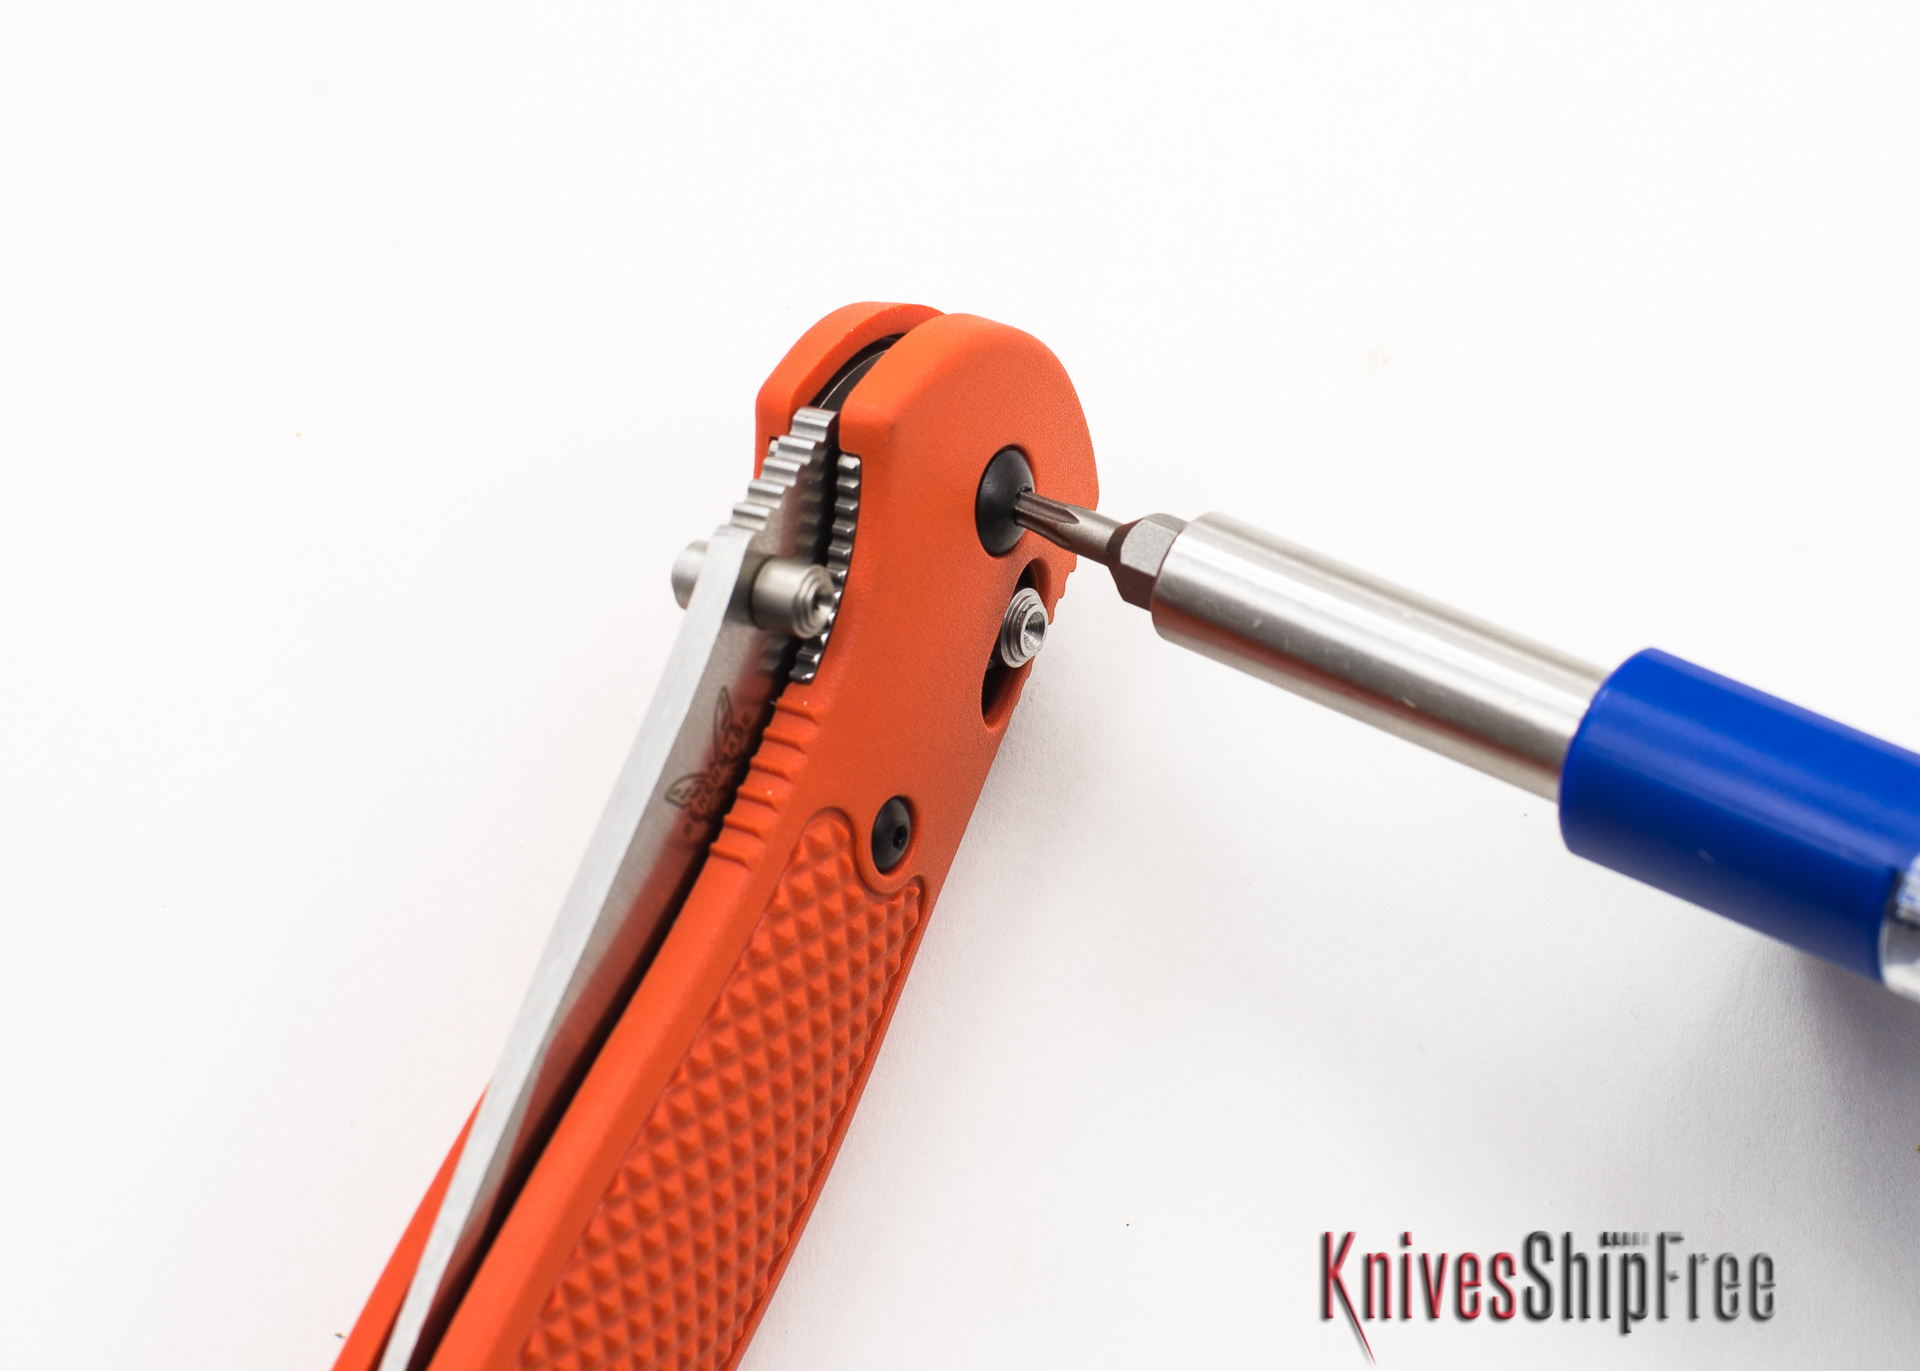
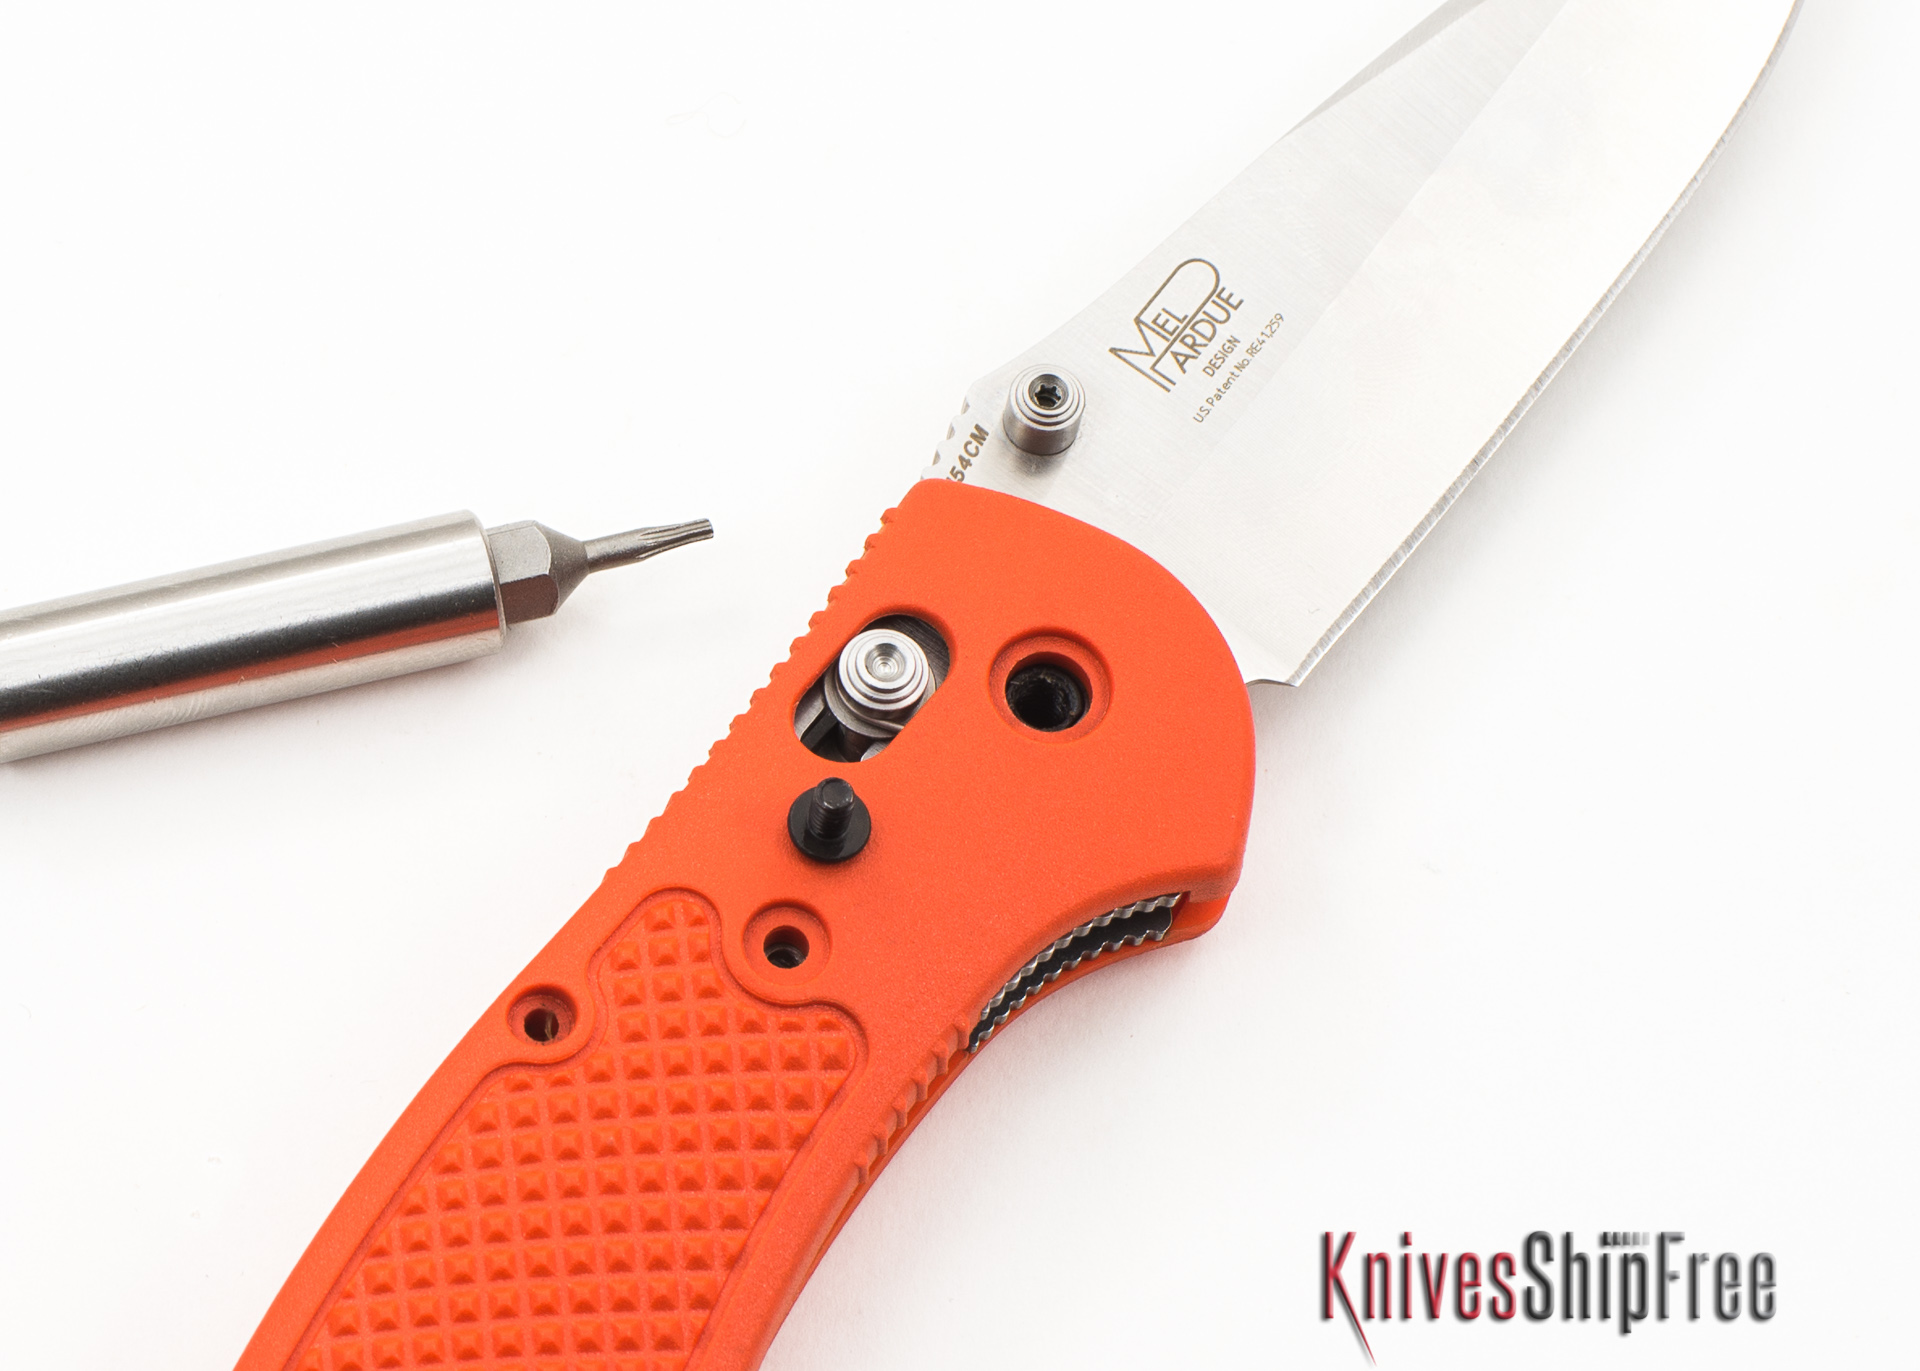
2. Using a T10 Torx driver, remove the male pivot screw. (This screw will be used again in Step 16.)
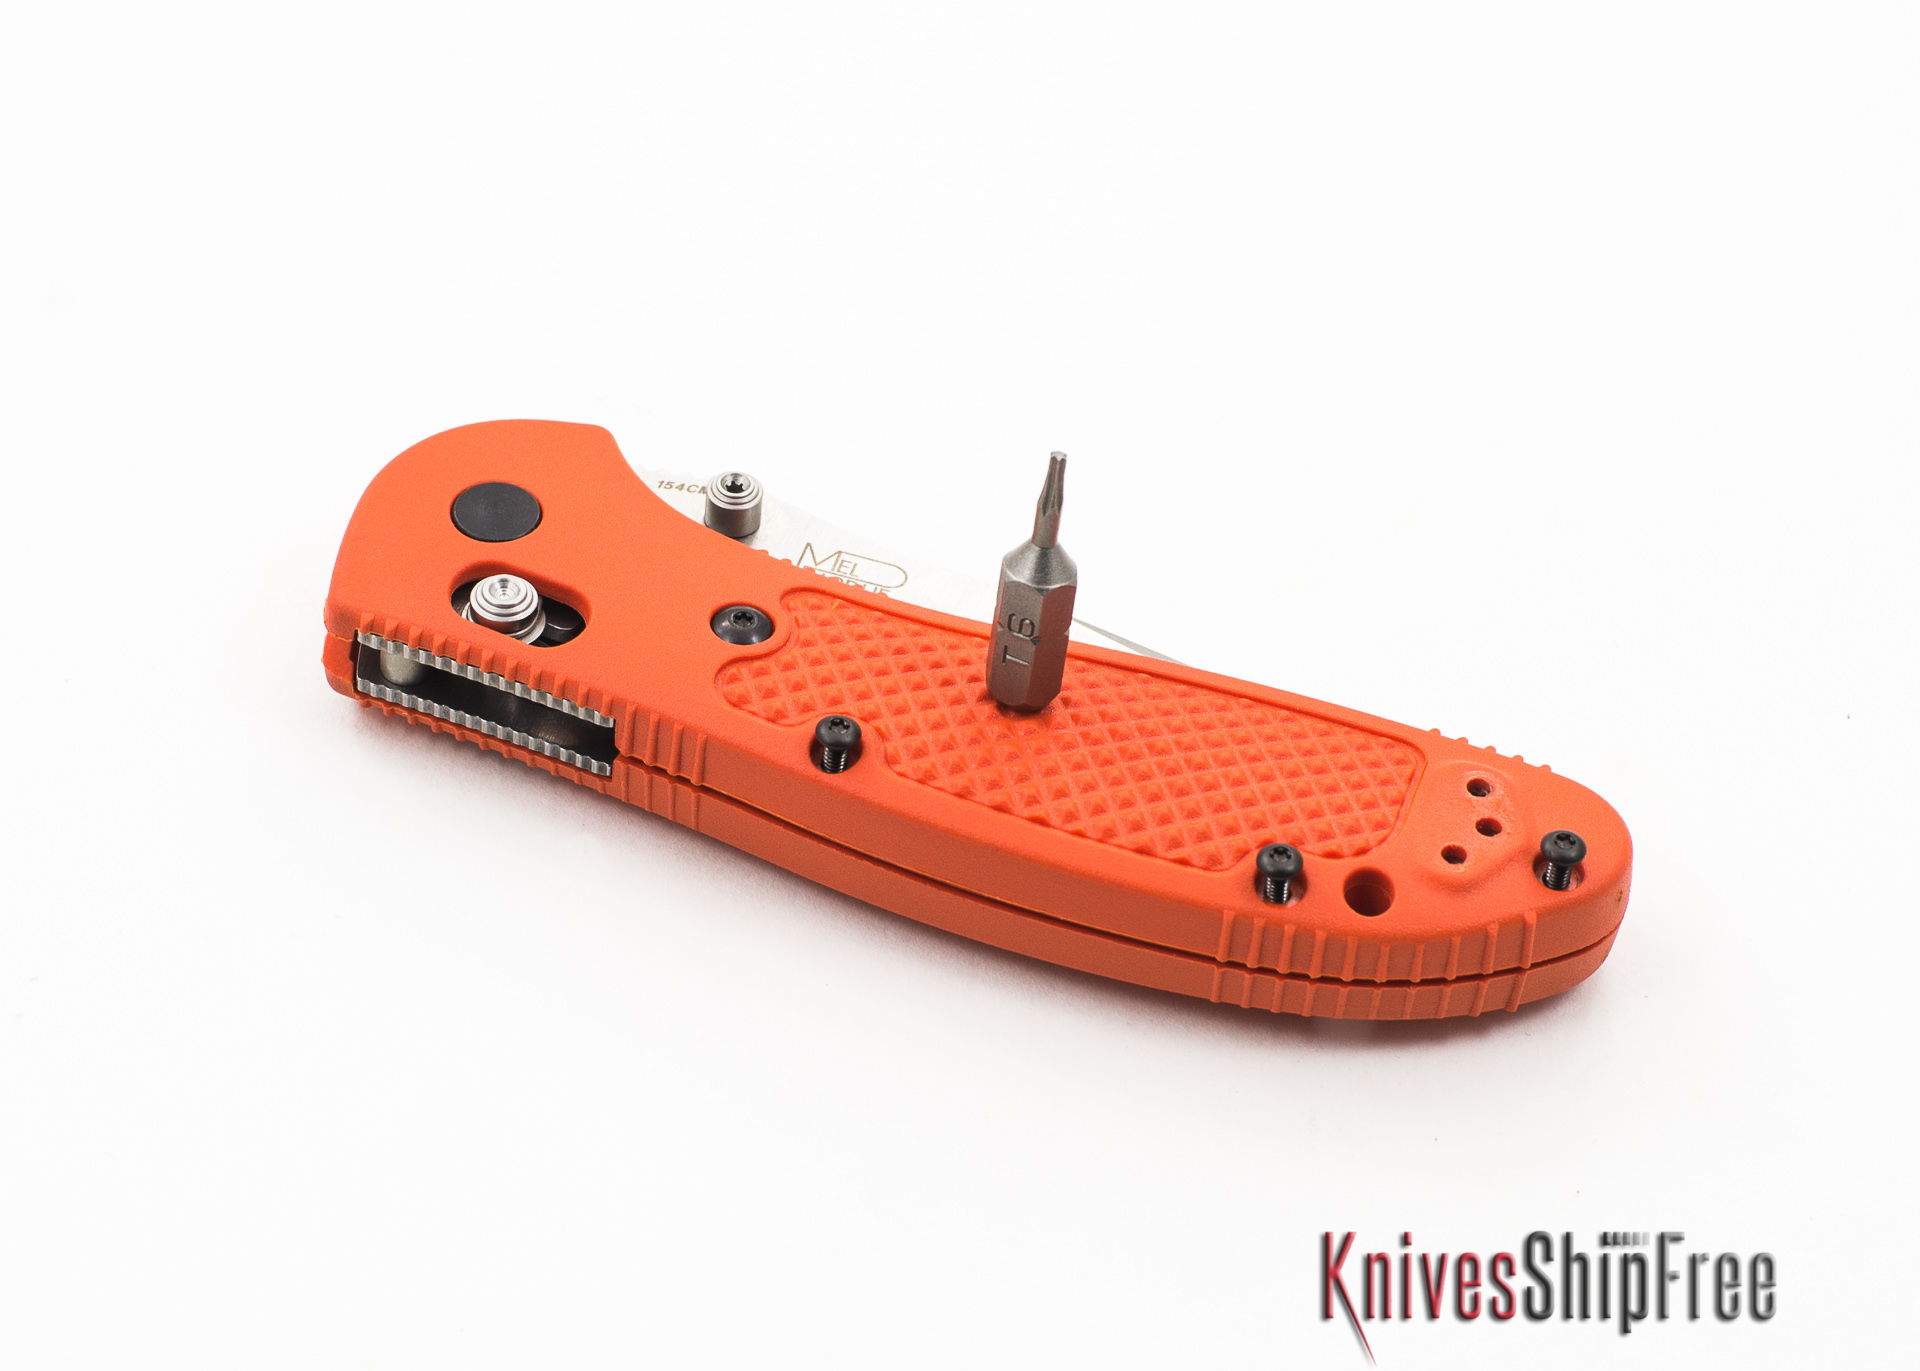
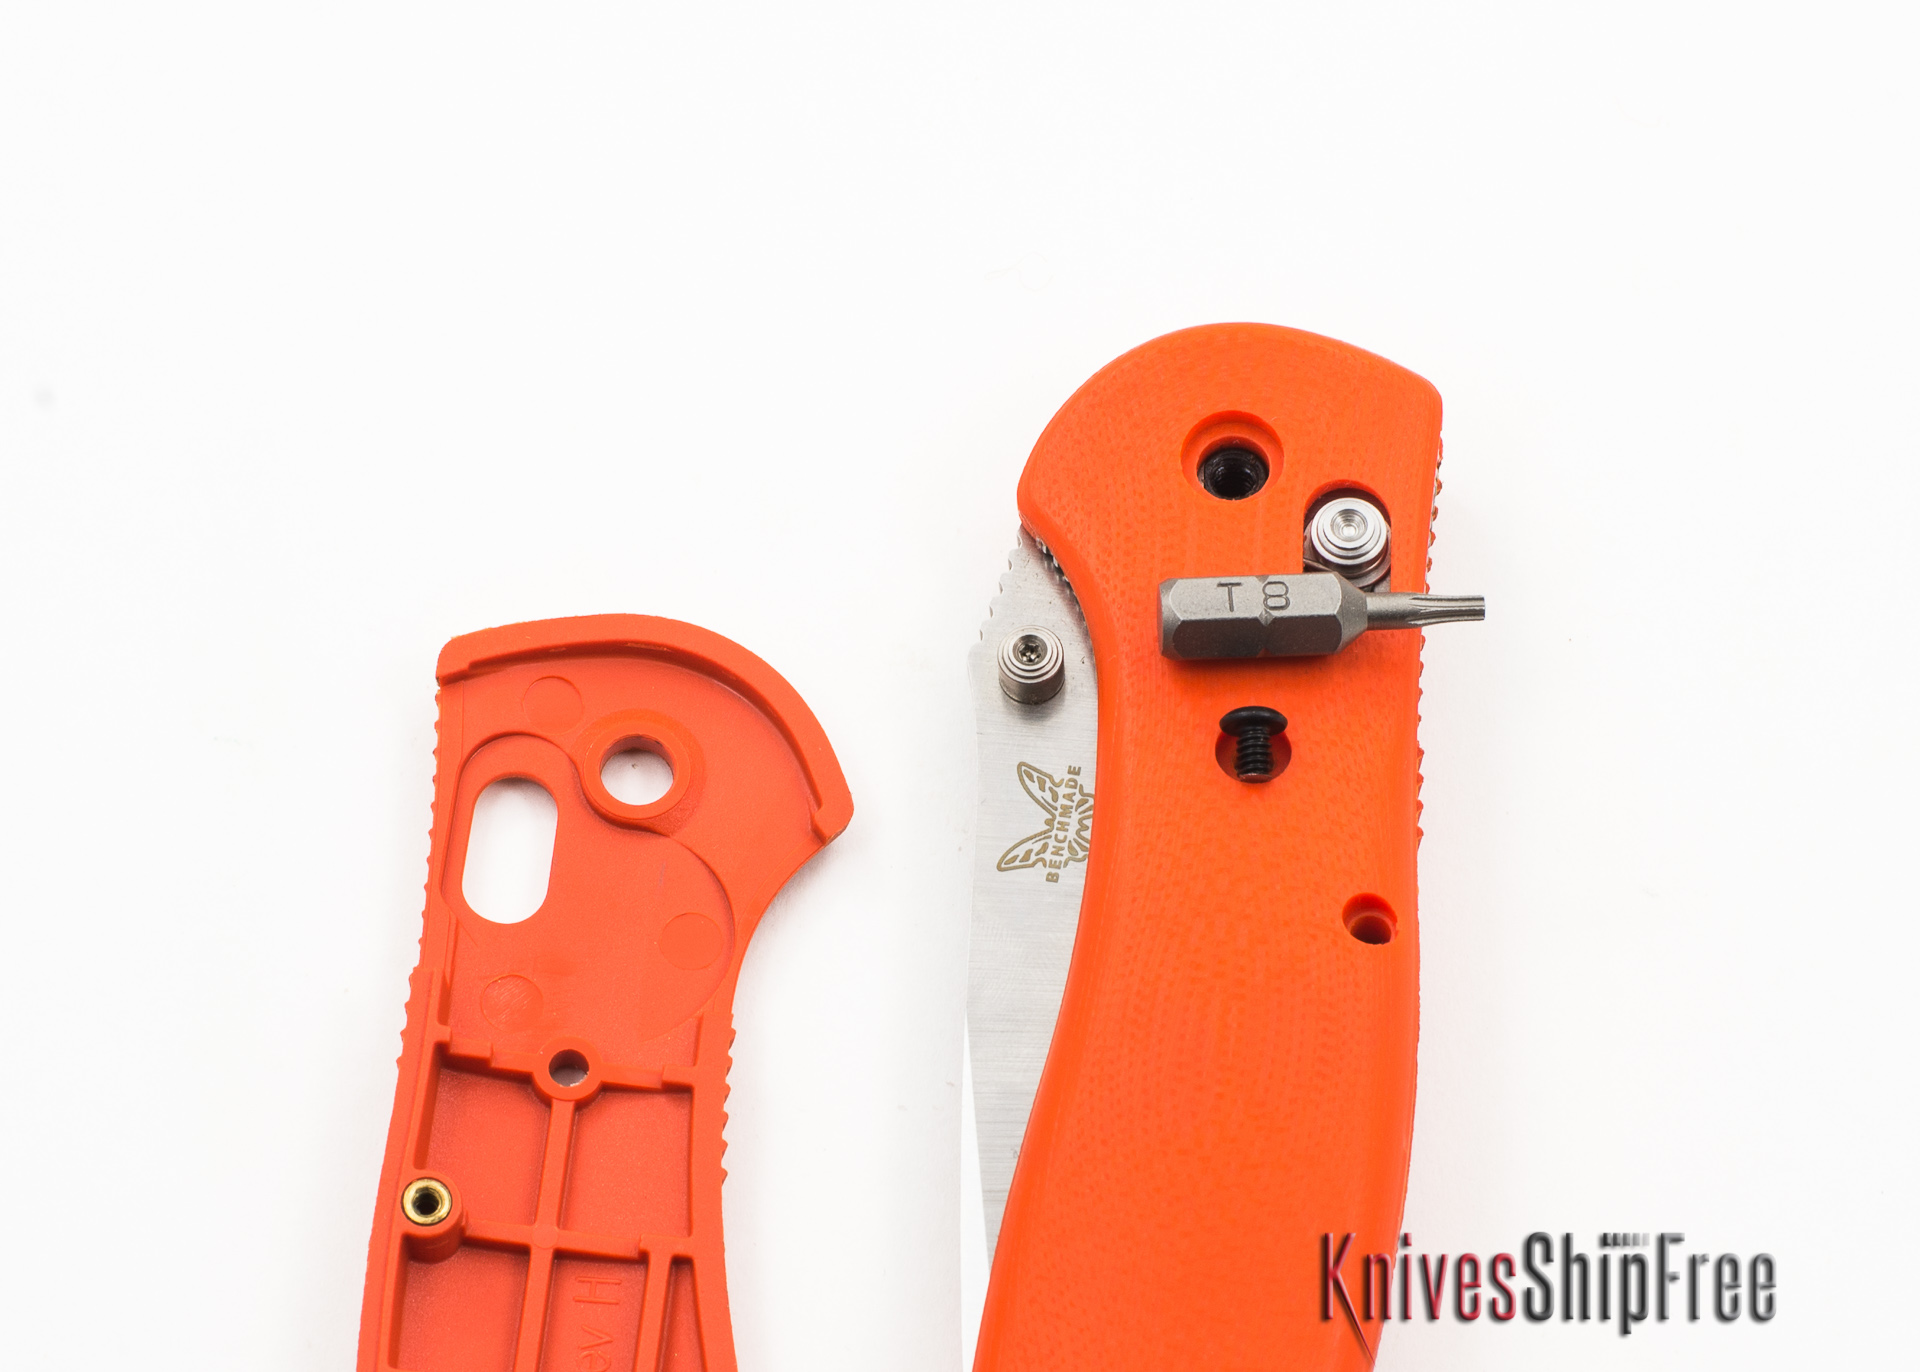
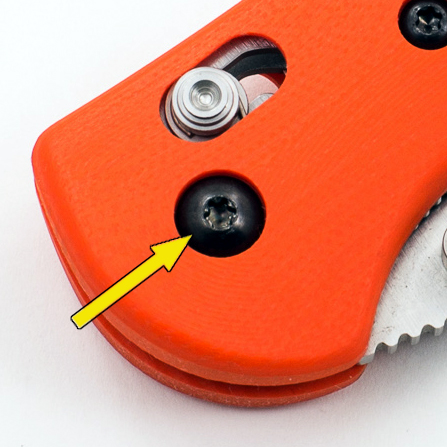
3. Using a T8 Torx driver (a T6 Torx driver on Mini-Griptilian models), remove the screw in the center of the handle (the same side of the handle as the male pivot screw). Set this screw aside. (It won't be used again unless you re-install the original handle scales.)
Note: On Mini-Griptilian models there's a second screw located near the mounting point for the pocket clip. Using a T6 Torx driver, remove this screw and set it aside. (It won't be used again unless you reinstall the original handle scales.)
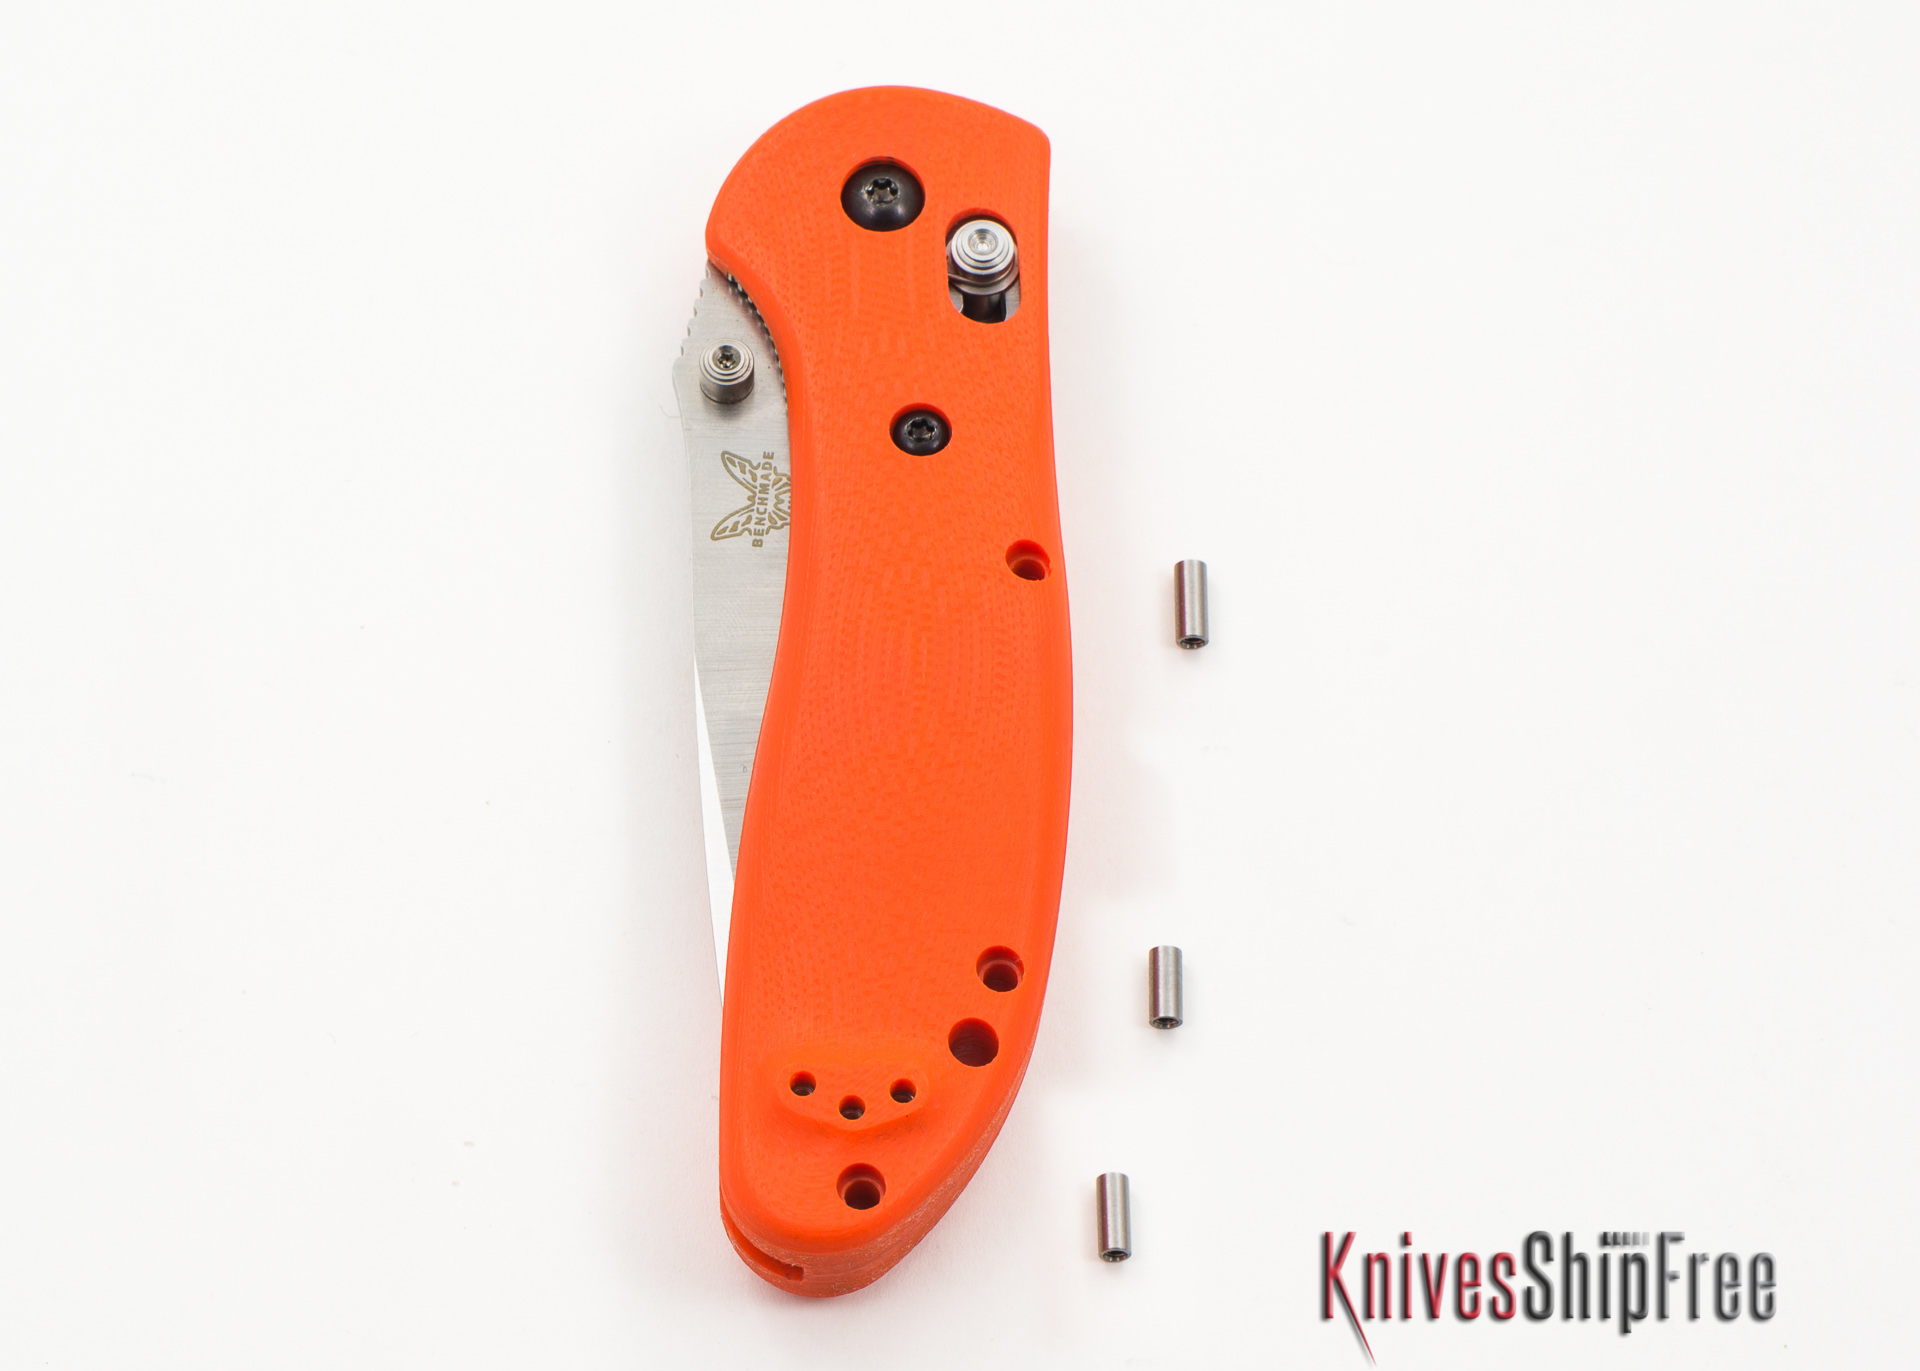
4. Turn the knife over so that the female pivot screw is facing up. Using a T6 Torx driver, remove the three screws securing the handle scales. Set these screws aside. (They won't be used again unless you re-install the original handle scales.)
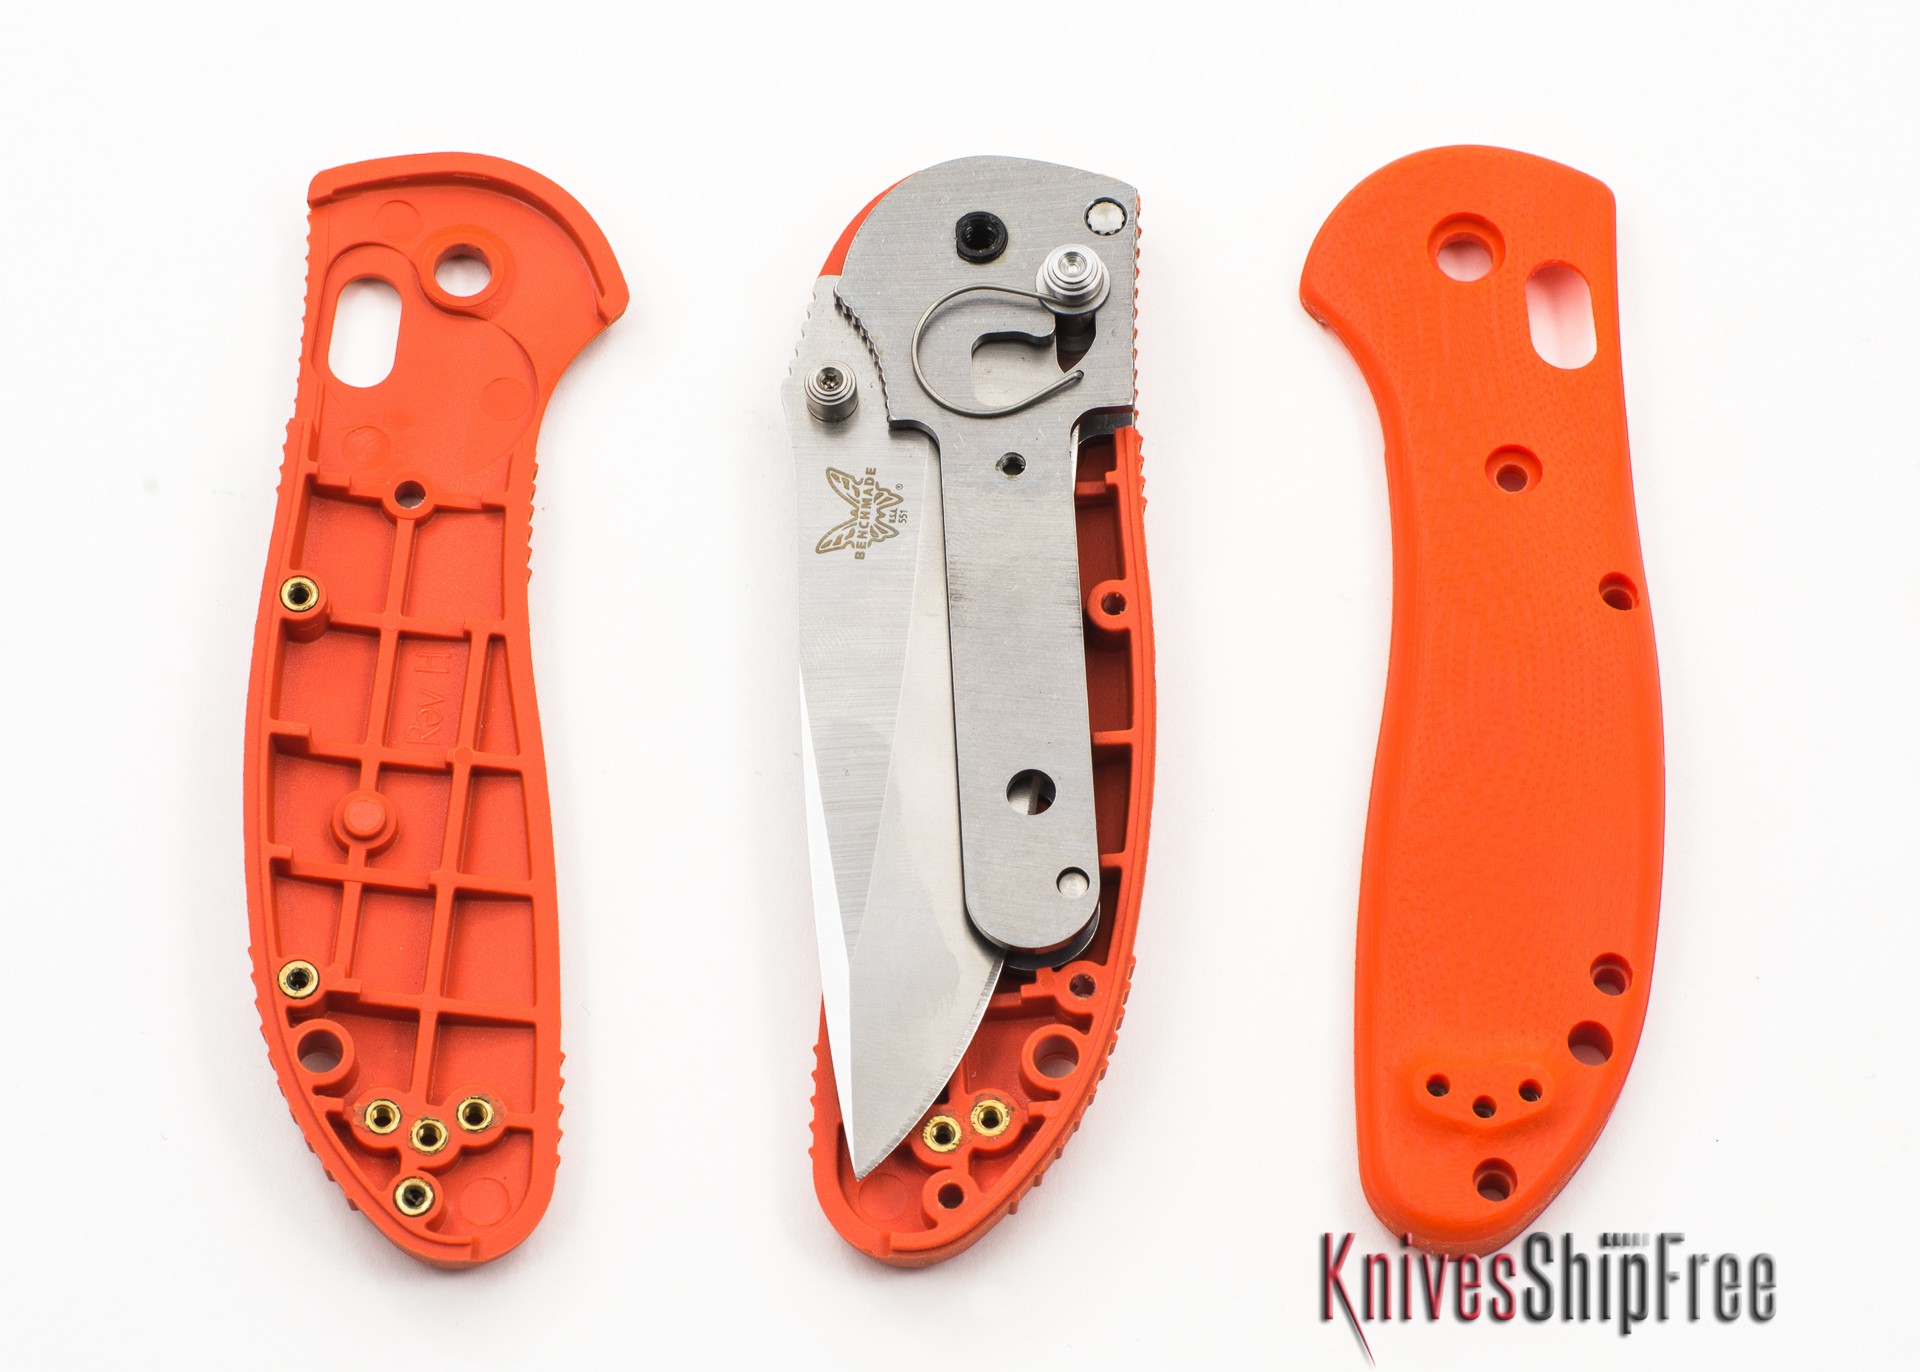
5. Turn the knife over. Carefully remove the handle scale that's facing up and set it aside. (It won't be used again unless you re-install the original handle scales.) Set the appropriate replacement (new) handle scale firmly in place.
6. Using a T8 Torx driver (or a T6 Torx driver on Mini-Griptilian models), install the appropriate replacement (new) screw in the center of the handle scale. Don't over-tighten this screw.
Note: On Mini-Griptilian models there's a second screw located near the mounting point for the pocket clip. Using a T6 Torx driver, install the appropriate replacement (new) screw in this location. Don't over-tighten this screw.
7. Partially open the blade of the knife -- don't allow the blade to open completely and don't allow the AXIS lock to engage. It's very important that the AXIS lock remain disengaged throughout Step 8 and Step 9.
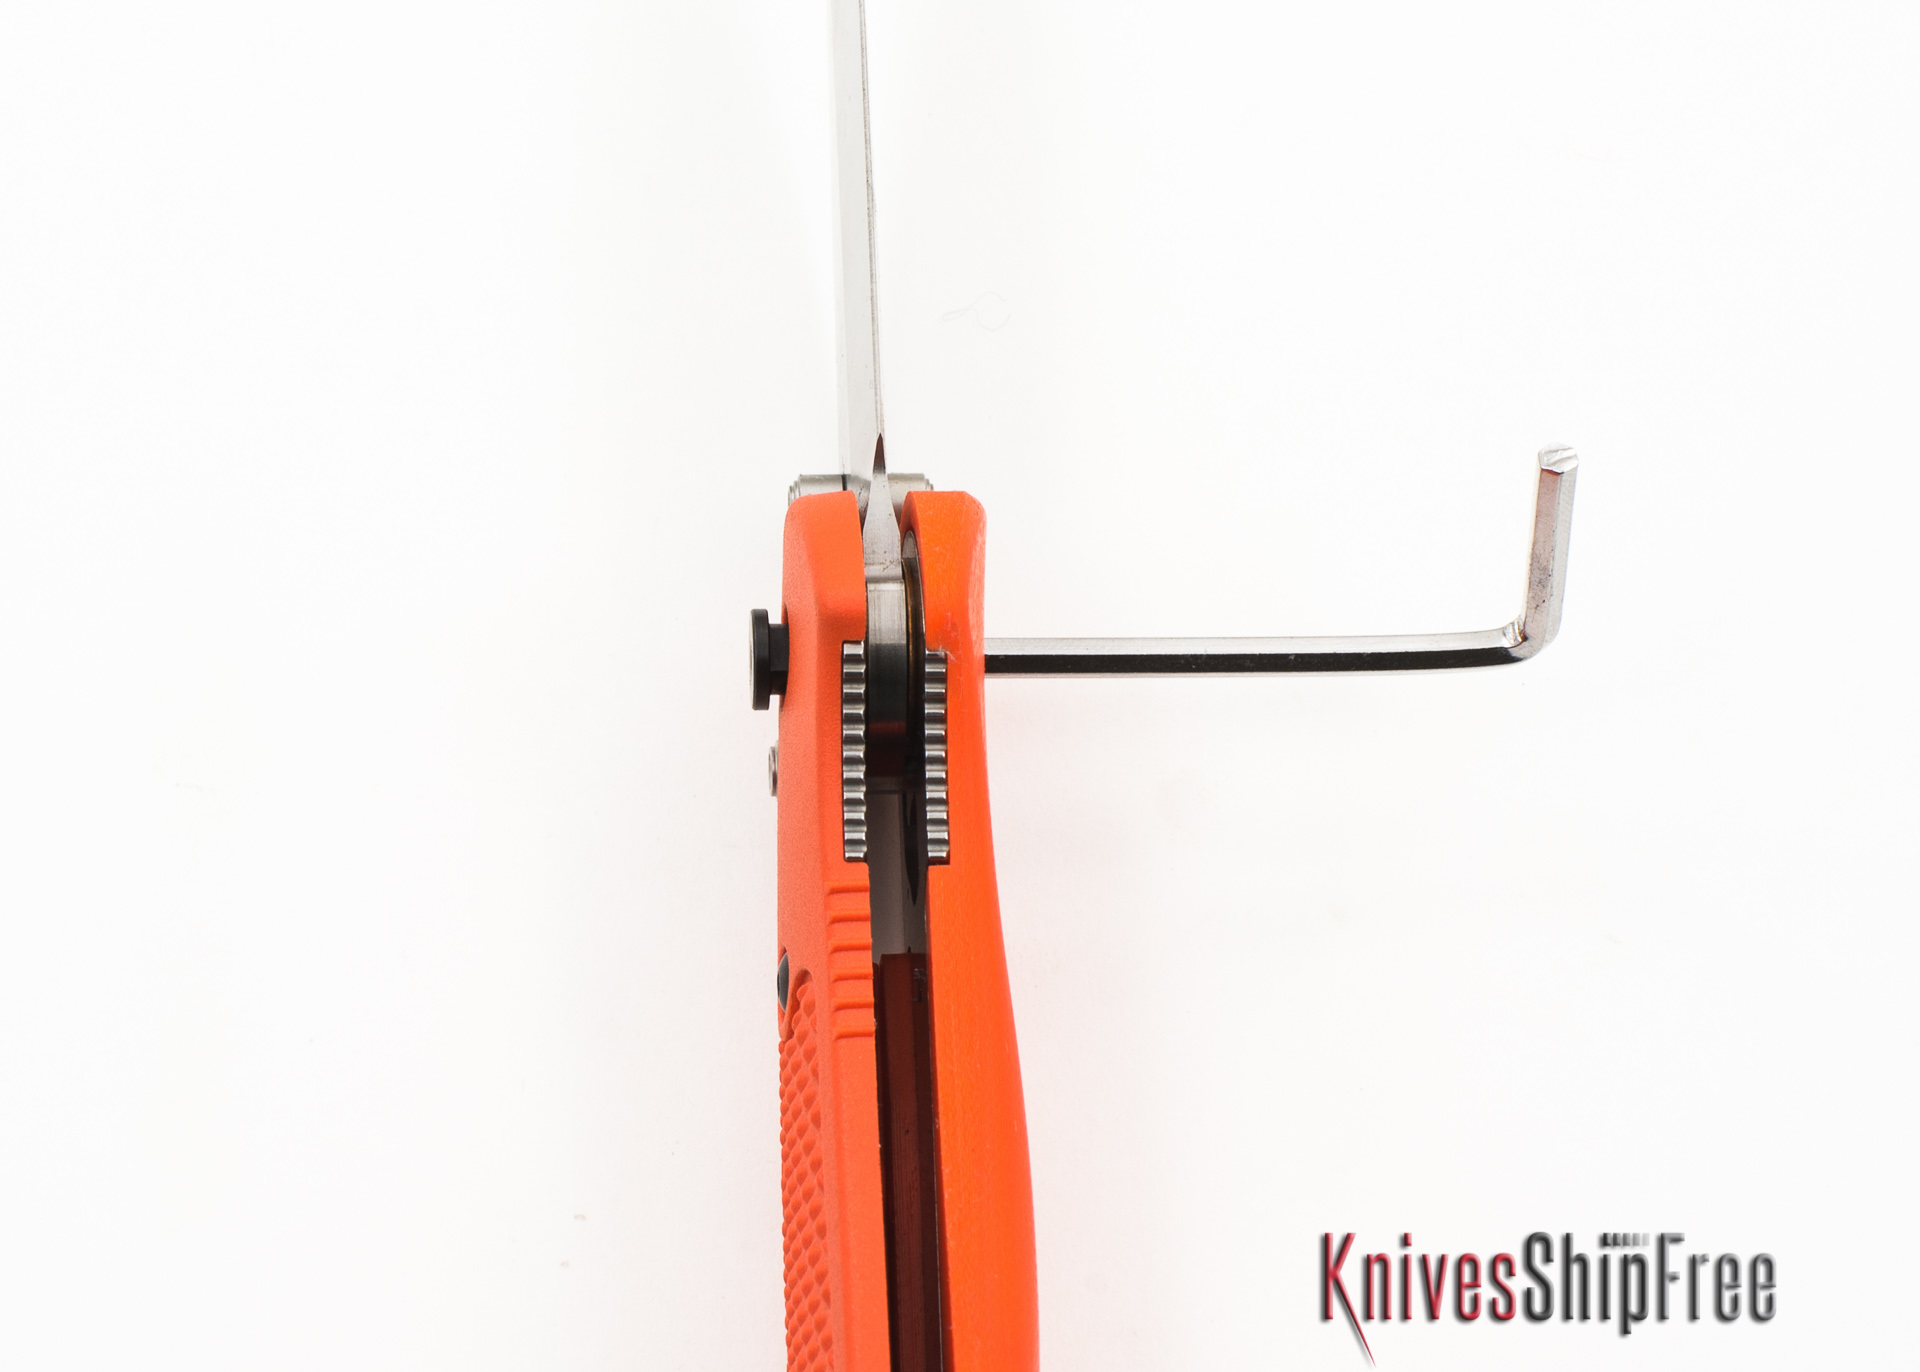
8. Insert a small hex key or similar-size rod into the male (empty) side of the pivot and gently push the female pivot screw out of the other side. (The female pivot screw will be used again in Step 9.)
9. Temporarily insert the female pivot screw into the opposite side of the pivot. Be sure to align the flat side of the female pivot screw's barrel so that it inserts completely.
10. Turn the knife over so that the empty side of the pivot is facing up. Using a T8 Torx driver (or a T6 Torx driver on Mini-Griptilian models), remove the screw in the center of the handle. Set this screw aside. (It won't be used again unless you re-install the original handle scales.)
Note: On Mini-Griptilian models there's a second screw located near the mounting point for the pocket clip. Using a T6 Torx driver, remove this screw and set it aside. (It won't be used again unless you reinstall the original handle scales.)
11. Carefully remove the handle scale that's facing up and set it aside. (It won't be used again unless you re-install the original handle scales.) Set the corresponding replacement (new) handle scale firmly in place.
12. Using a T8 Torx driver (or a T6 Torx driver on Mini-Griptilian models), install the appropriate replacement (new) screw in the center of the handle scale. Don't over-tighten this screw.
Note: On Mini-Griptilian models there's a second screw located near the mounting point for the pocket clip. Using a T6 Torx driver, install the appropriate replacement (new) screw in this location. Don't over-tighten this screw.
13. Partially open the blade of the knife -- don't allow the blade to open completely and don't allow the AXIS lock to engage. It's very important that the AXIS lock remain disengaged throughout Step 14 and Step 15.
14. Insert a small hex key or similar-size rod into the empty side of the pivot and gently push the female pivot screw (temporarily inserted in Step 9) out of the other side. (The female pivot screw will be used again in Step 15.)
15. Re-install the female pivot screw in the opposite side of the pivot (its original location). Be sure to align the flat side of the female pivot screw's barrel so that it inserts completely.
16. Using a T10 Torx driver, re-install the male pivot screw (removed in Step 2). Don't over-tighten this screw.
17. Insert the three small tubes (from the replacement hardware package) into their places in the handle scales -- for proper fit and function, the longest tube must be inserted into the hole closest to the pivot, the shortest tube must be inserted into the middle hole and the remaining (medium-size) tube must be inserted into the hole closest to the pocket clip.
Note: On the Mini-Griptilian scales you will receive two small tubes and one large tube. The larger tube will be inserted into the hole directly under the pocketclip and the two smaller tubes will be placed in the remaining two holes (directly above the lanyard hole and the hole closest to the pivot )
18. Using a T6 Torx driver, install the six appropriate replacement (new) screws securing the handle scales (on both sides of the knife), threading them into the tubes installed in Step 17. Don't over-tighten these screws.
19. Using a T6 Torx driver, gradually tighten the six screws installed in Step 18 until the seam closes between the handle scales and any gap disappears. Don't over-tighten these screws.
20. Using a T6 Torx driver and three appropriate replacement (new) screws, re-install the pocket clip (removed in Step 1). Don't over-tighten these screws.
21. Using a T10 Torx driver, adjust the male pivot screw so that the knife functions safely and securely, according to your preference.

Now that you're done...
After replacing the handle scales on your knife, you should have these parts left over (full-size Griptilian):
- Two original handle scales
- Two T8-head screws (from the center of the original handle scales)
- Six T6-head screws (three from the pocket clip and three from edge of the handle scales)
You may want to keep these parts together, just in case you want to re-install the original handle scales.